> For the complete documentation index, see [llms.txt](https://docs.heima.network/llms.txt). Markdown versions of documentation pages are available by appending `.md` to page URLs; this page is available as [Markdown](https://docs.heima.network/featured-dapps/idhub/user-guides/how-to-stake-bridge-and-unstake-on-identityhub-deprecated.md).
# How to Stake, Bridge, and Unstake on IdentityHub (deprecated)
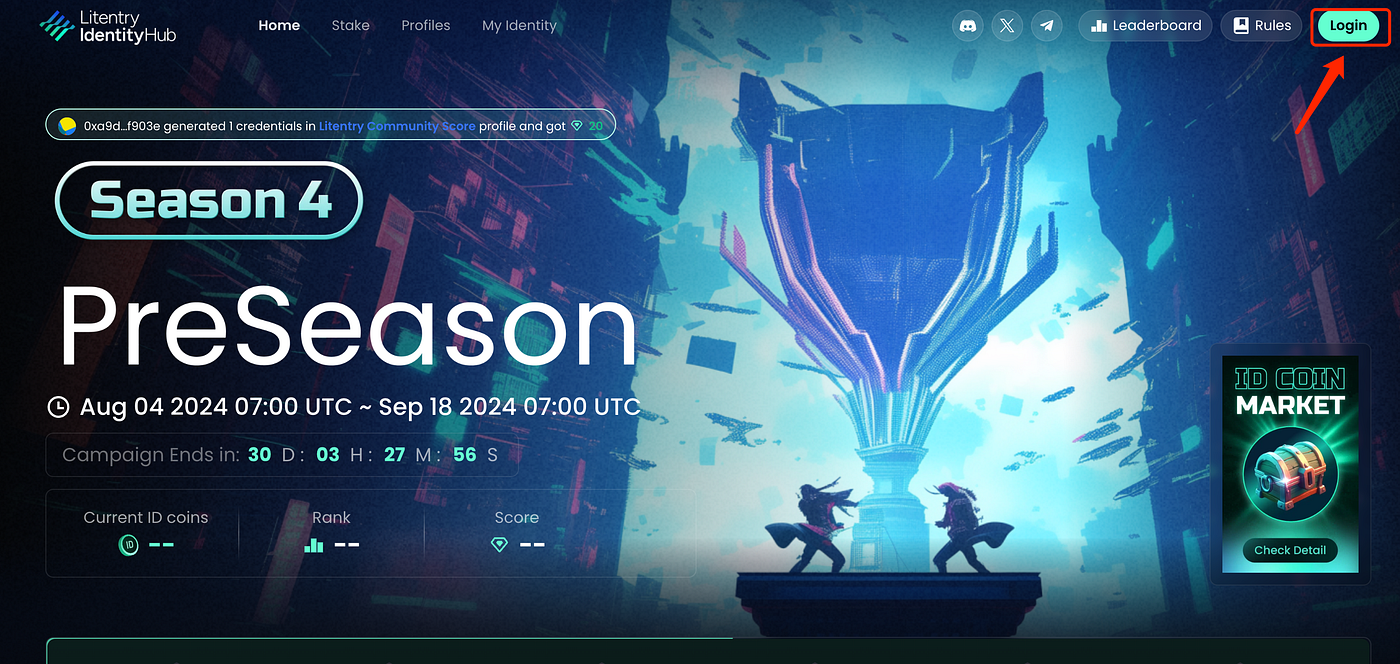
### 1. Logging into Your EVM Wallet Address
To begin, log in using your EVM wallet address. Note that, currently, only EVM wallet addresses are supported on IDHub.
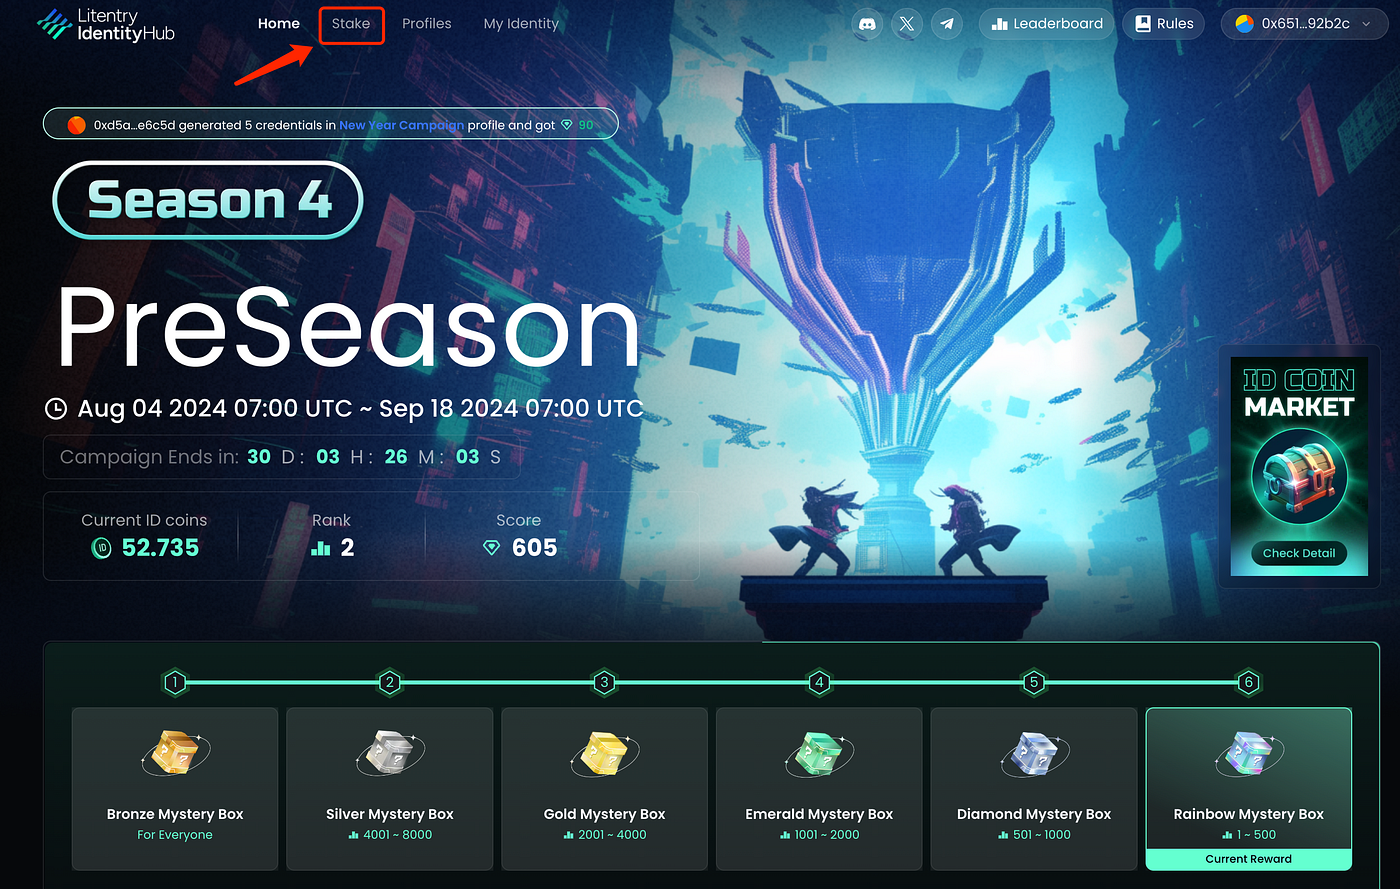
### 2. Access the Staking Interface
Once logged in, navigate to the top of the page and click on the “Stake” button to begin the staking process.
## Staking on Heima (deprecated)
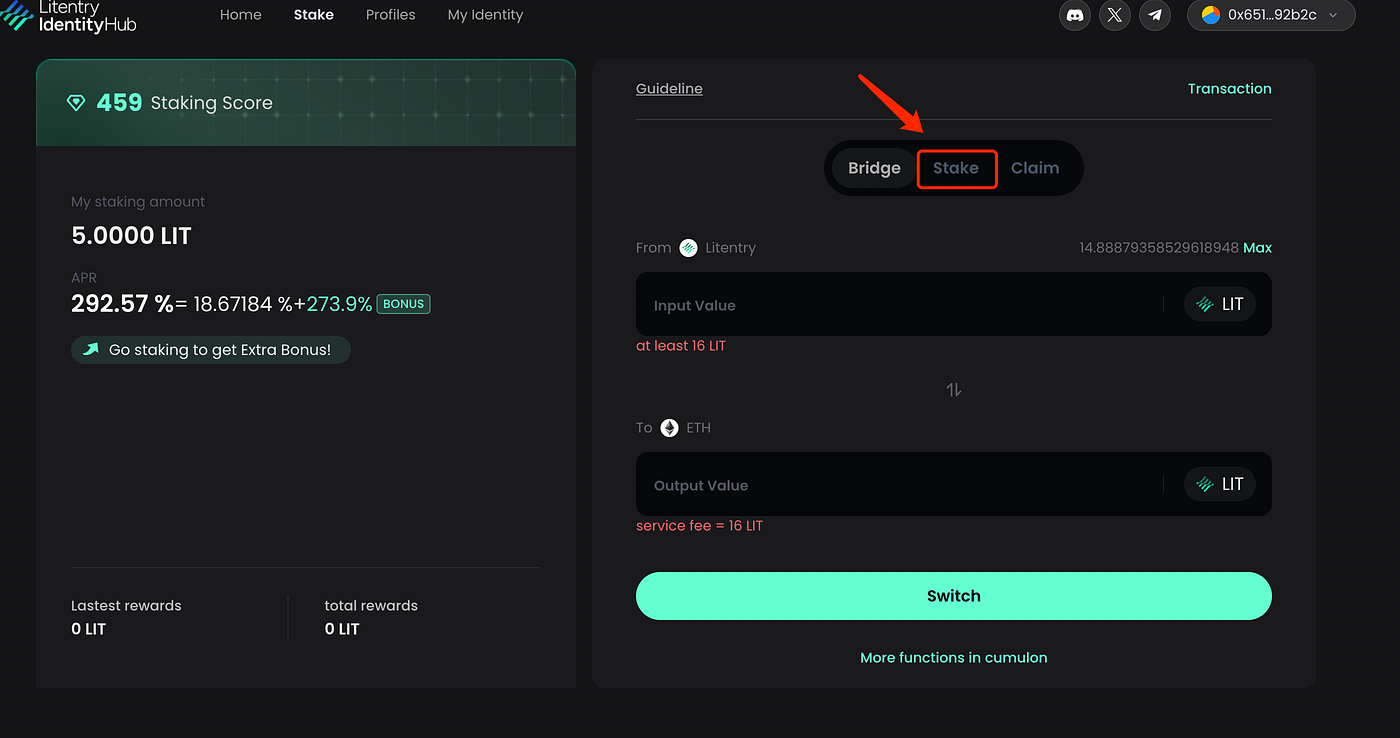
### Step 1: Open the Staking Menu
Click on the “Stake” button to access the staking options.
### Step 2: Switch to Heima Chain
Make sure to switch to the Heima chain before proceeding with the staking process.
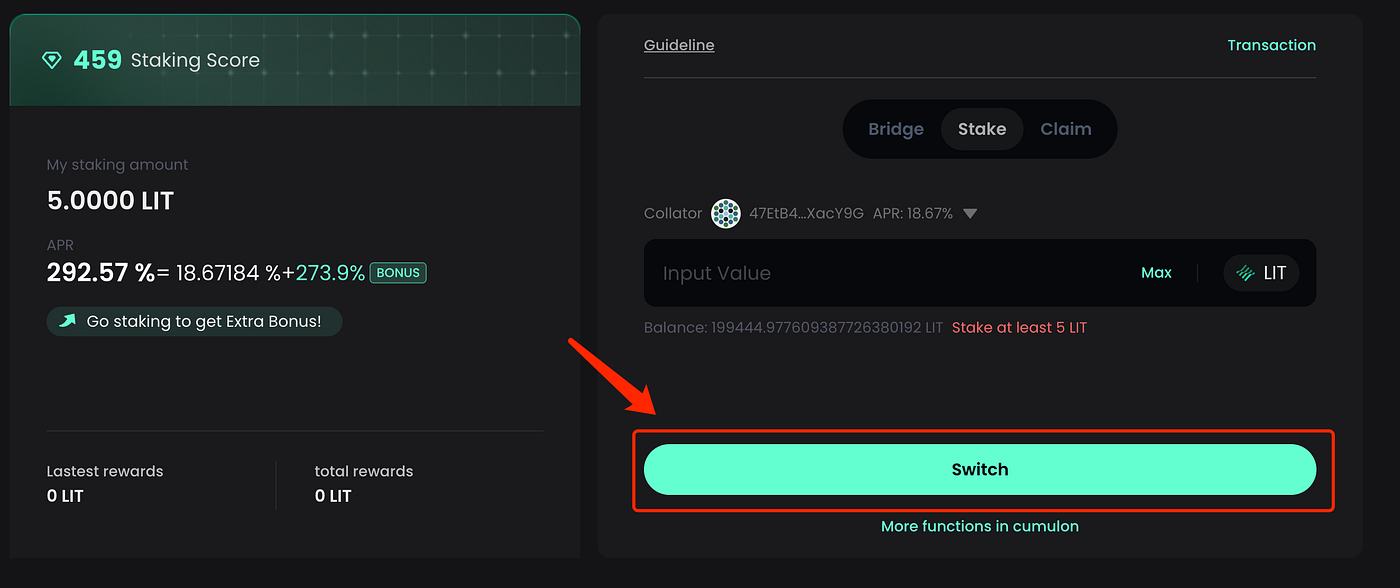
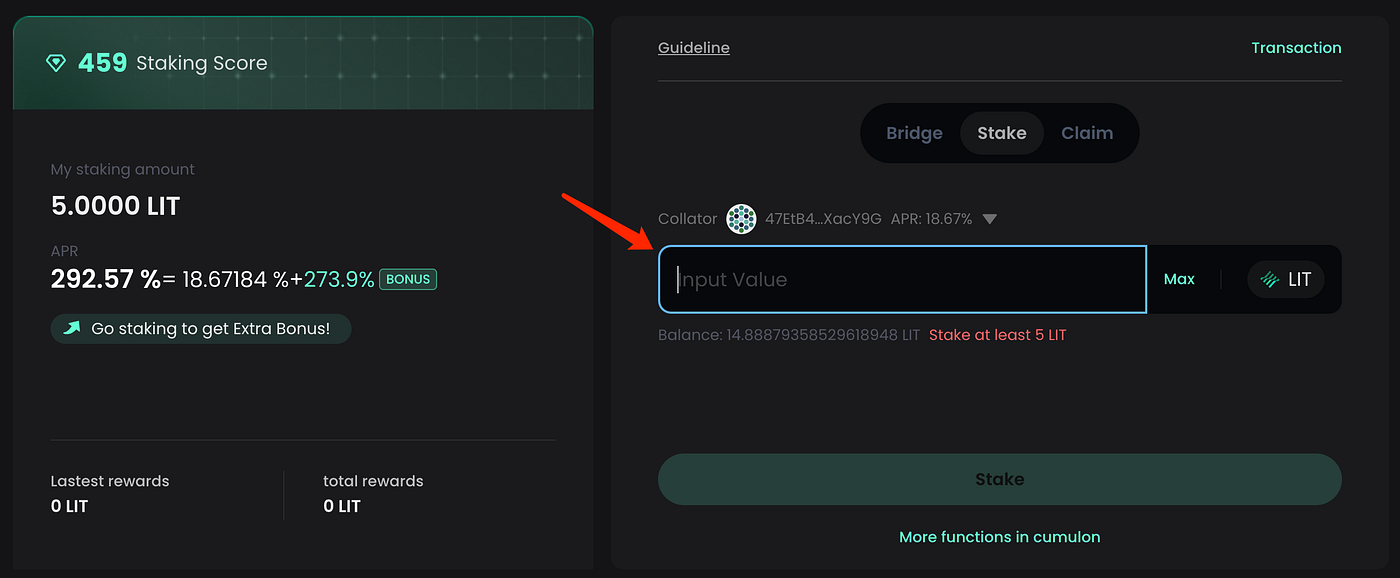
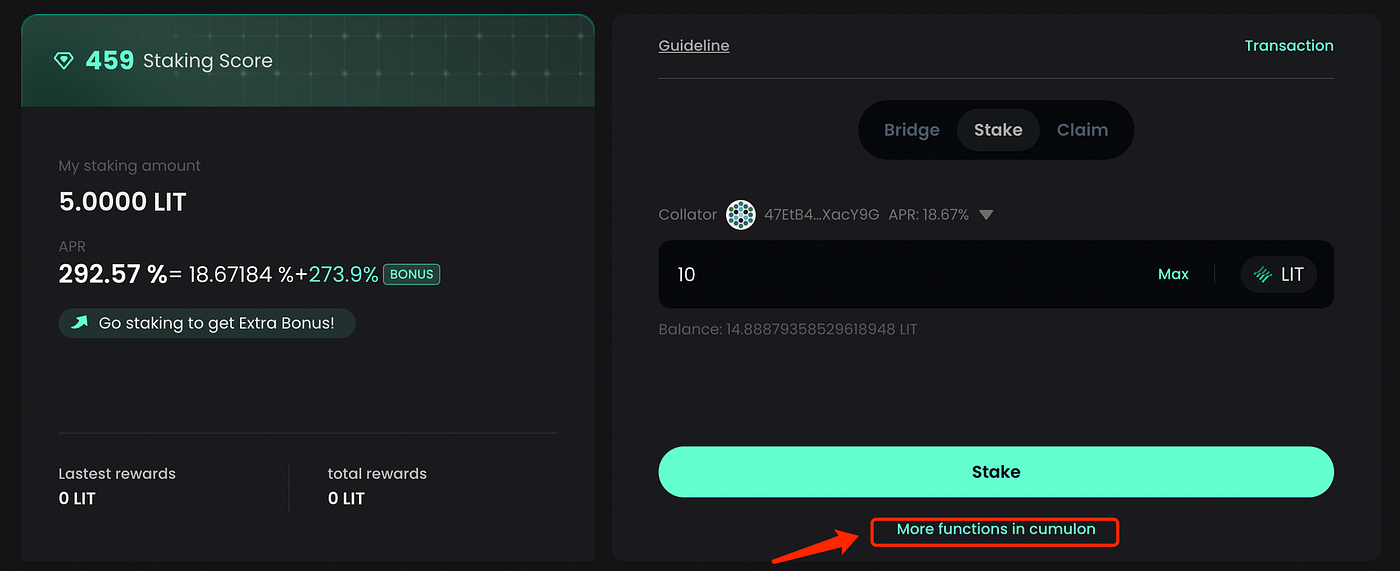
### Step 3: Enter Stake Amount
Input the amount you wish to stake. The minimum amount required is 5 LIT.
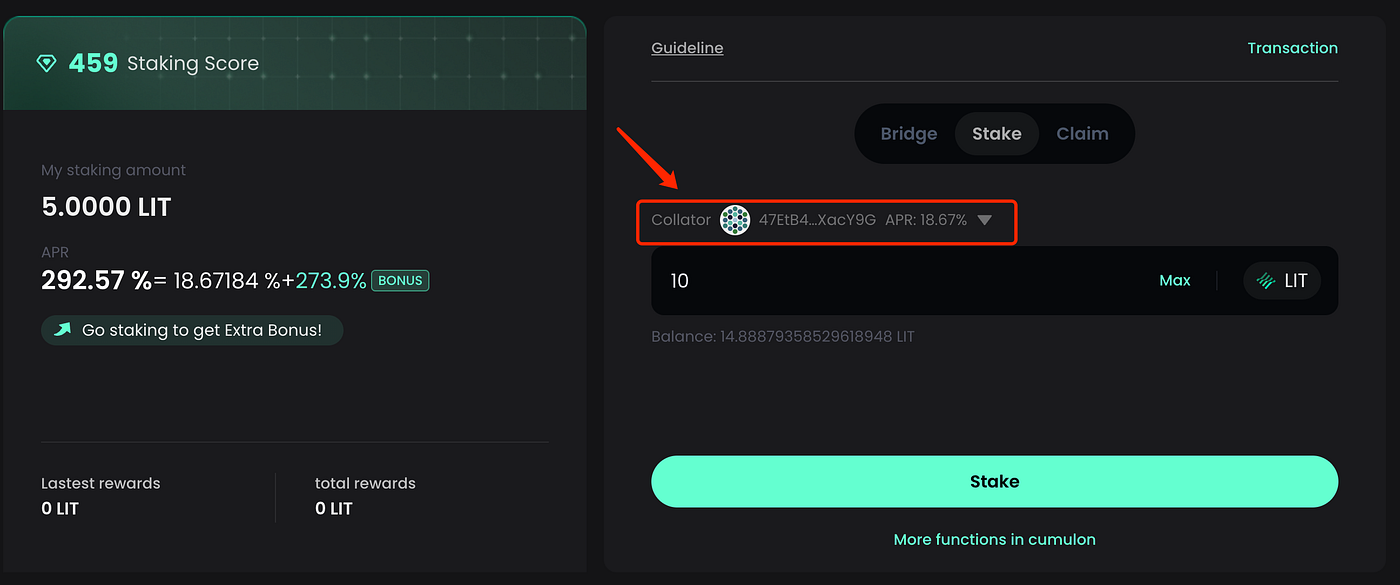
### Step 4: Select a Node
Choose a node for staking. Note that the displayed APR reflects the base staking pool APR. The bonus APR from score rewards is unaffected by the node selection.
For more detailed information about nodes, click the “More functions in Cumulon” button.
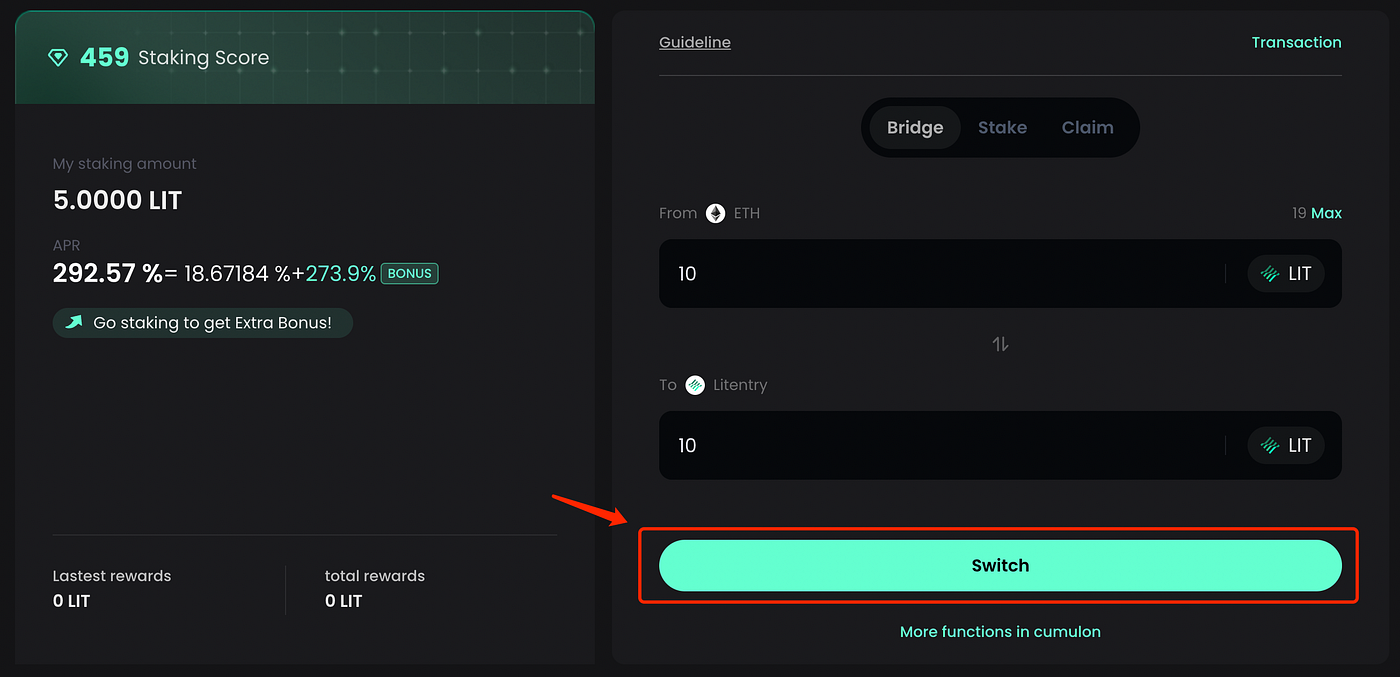
## Bridging Tokens
### ETH to HEI
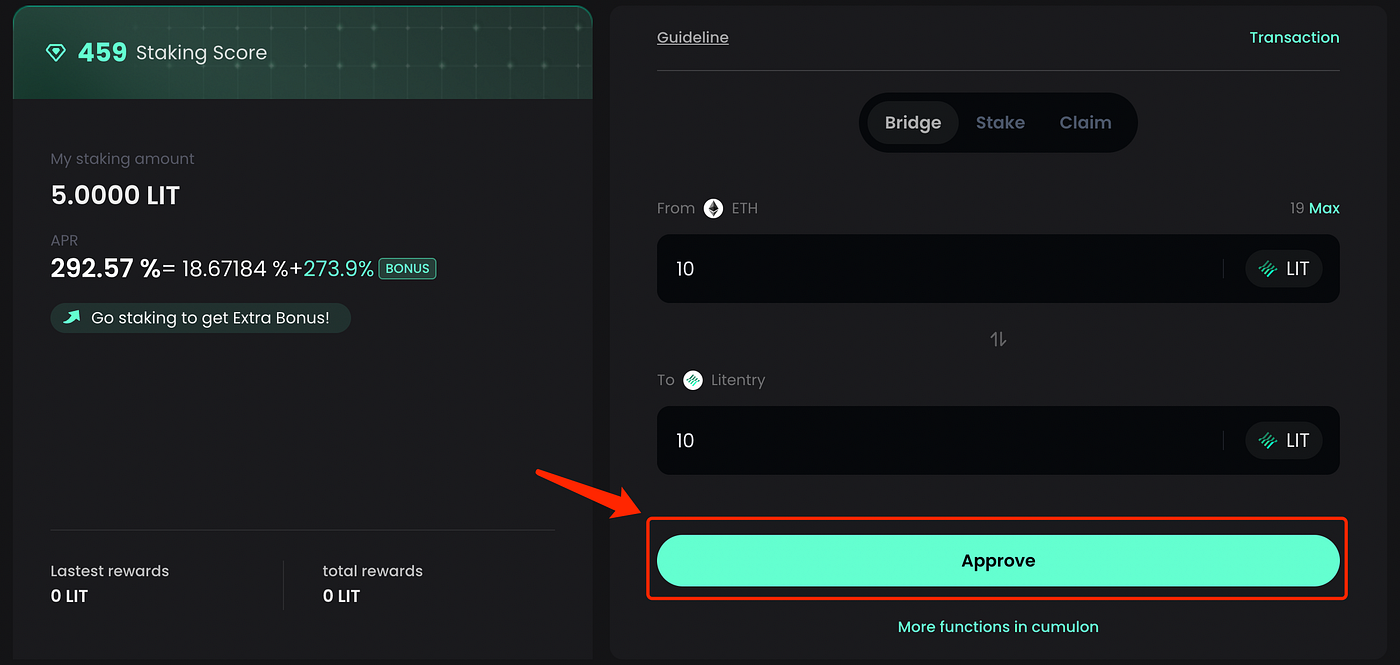
**Step 1:** Switch to the ETH chain.
**Step 2:** Approve the amount to be bridged.
**Step 3:** Click on “Bridge” after approval. Note that there may be a delay, so please be patient.
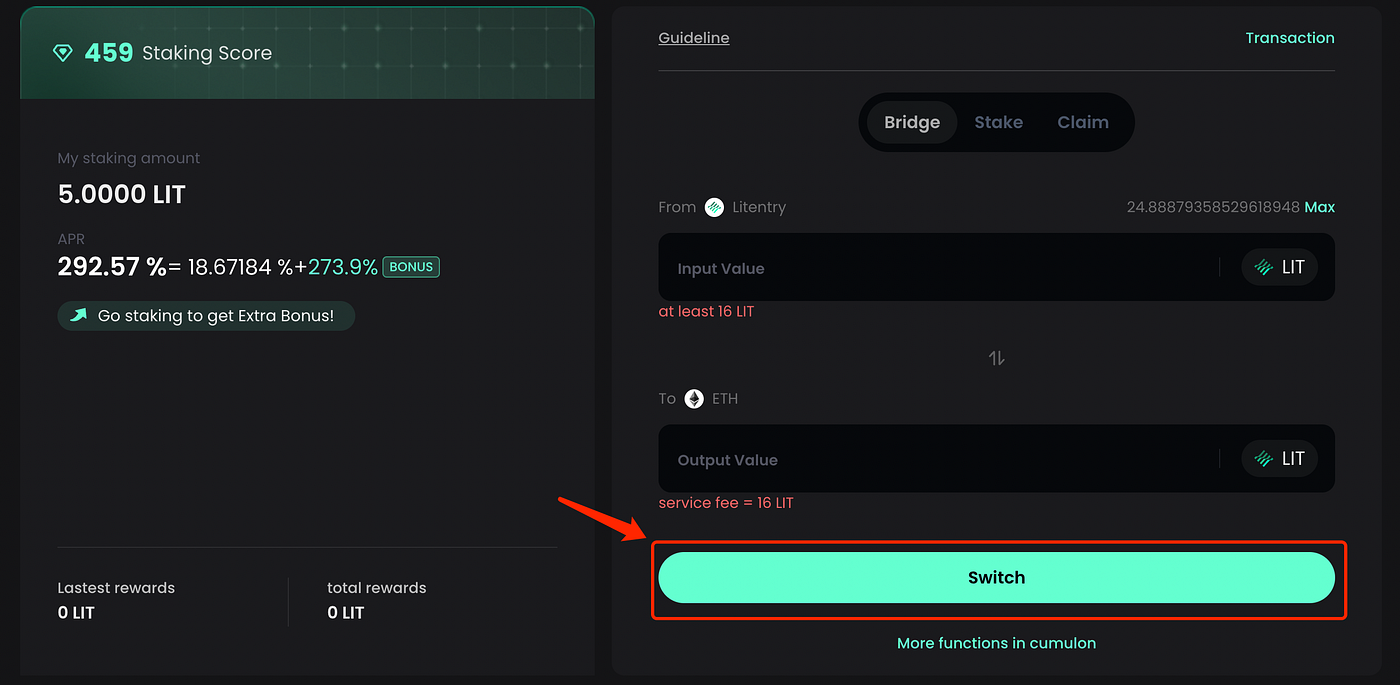
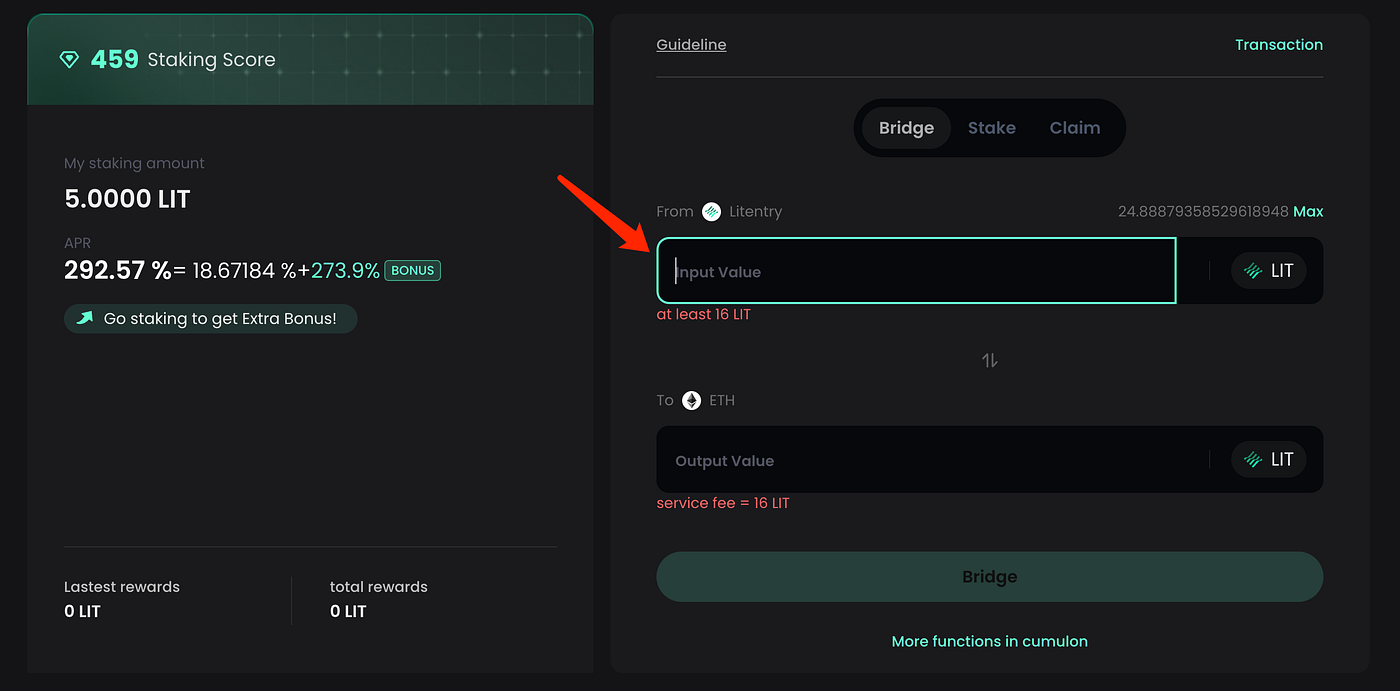
### HEI to ETH
**Step 1:** Switch to the Heima chain.
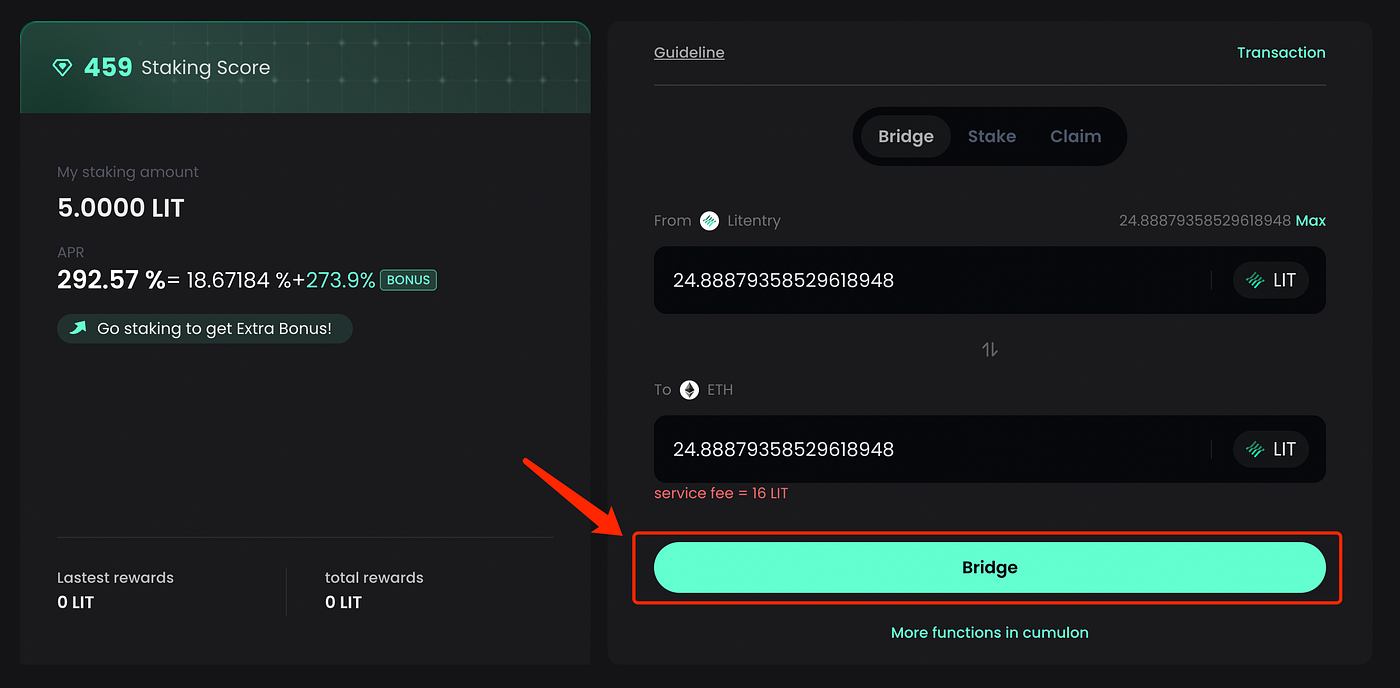
**Step 2:** Enter the staking amount. The minimum amount is 16 LIT, and a service fee of 16 LIT applies.
**Step 3:** Click “Bridge” to proceed.
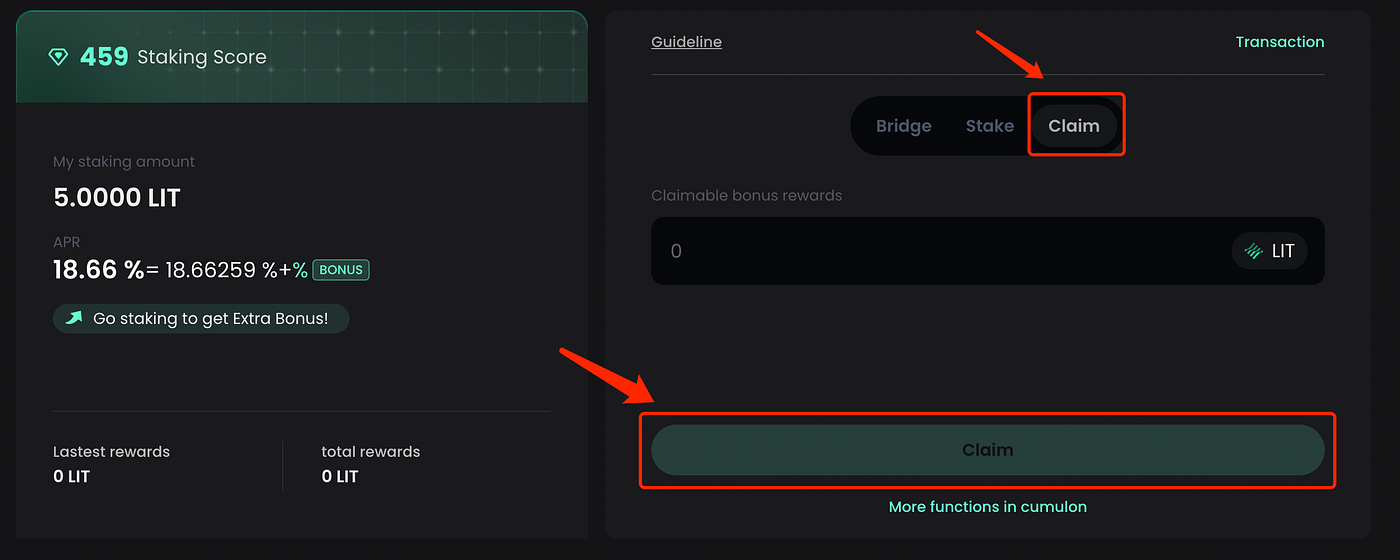
## Claiming Rewards
Rewards from the original Heima staking pool will automatically be credited to your wallet. However, bonus rewards must be manually claimed.
Unstaking
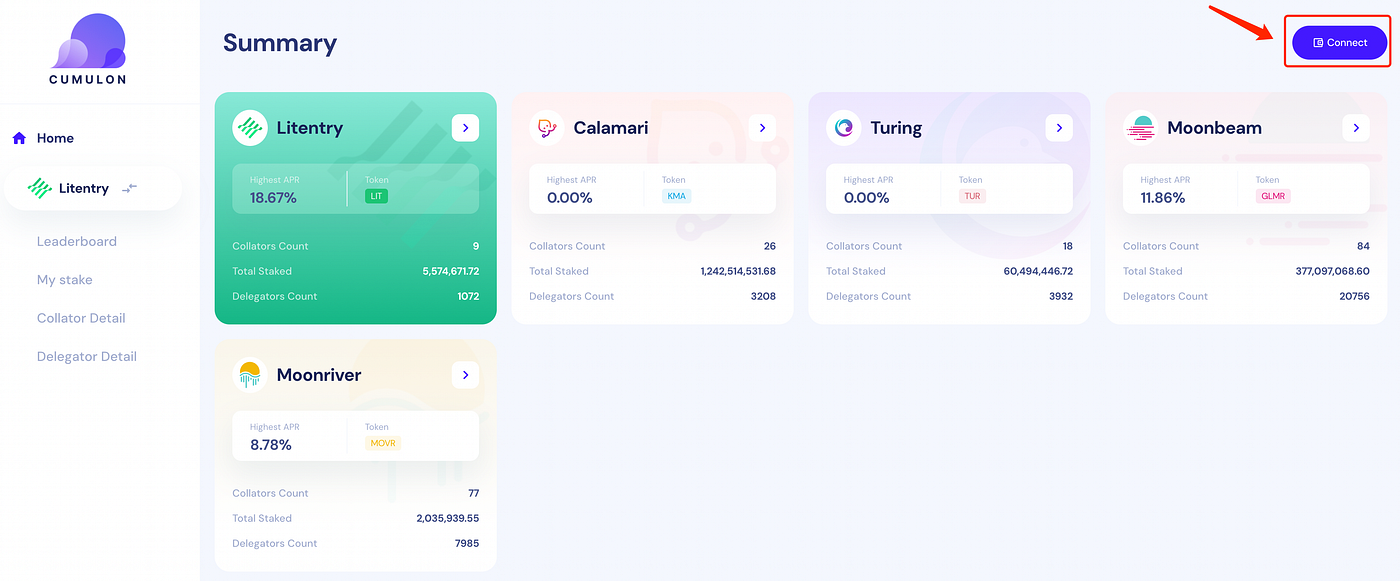
**Step 1:** Click on “More functions in Cumulon” to navigate to the Cumulon interface.
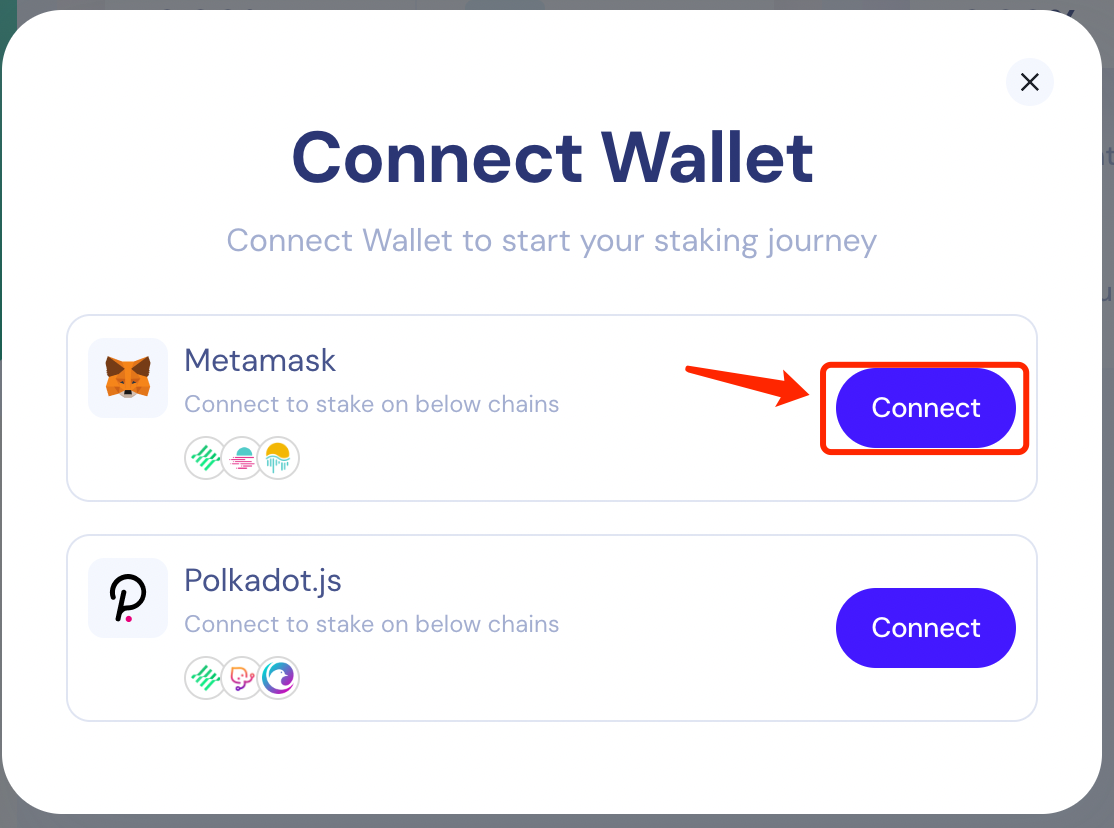
**Step 2:** Connect your IDHub main account to the corresponding EVM address. Note that currently only IDHub main accounts with a staking score can participate in the bonus pool distribution.
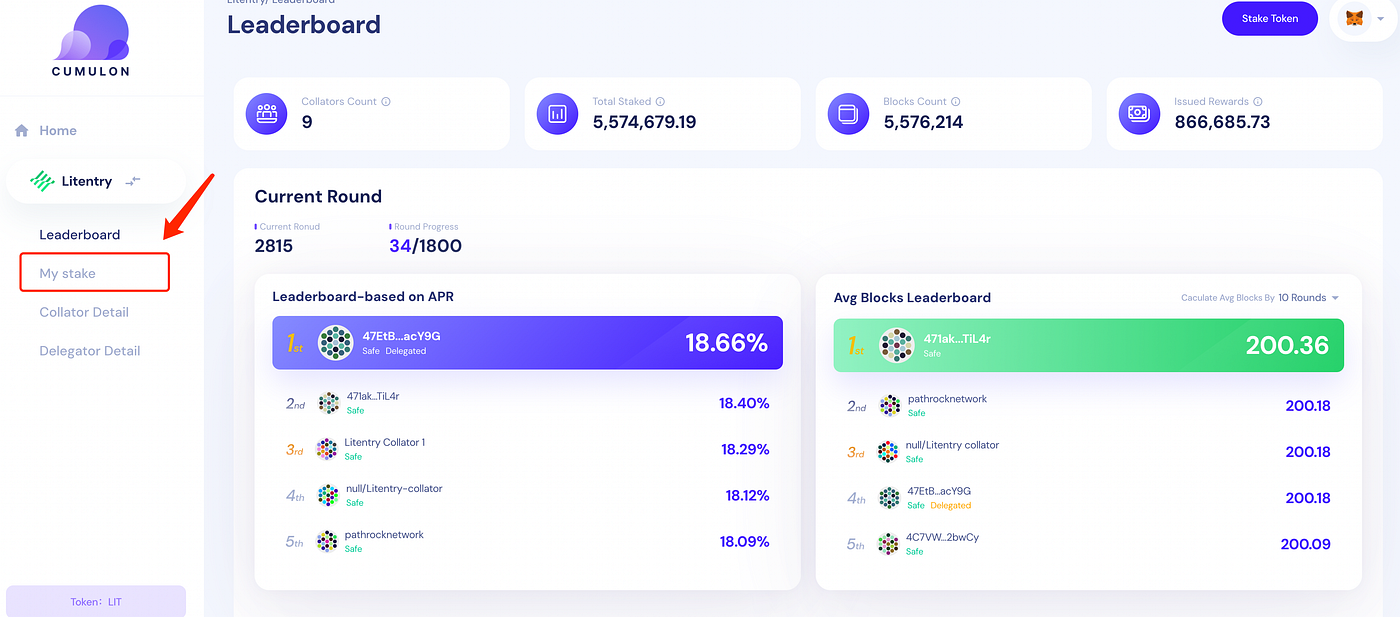
**Step 3:** Select “Heima” as the chain.
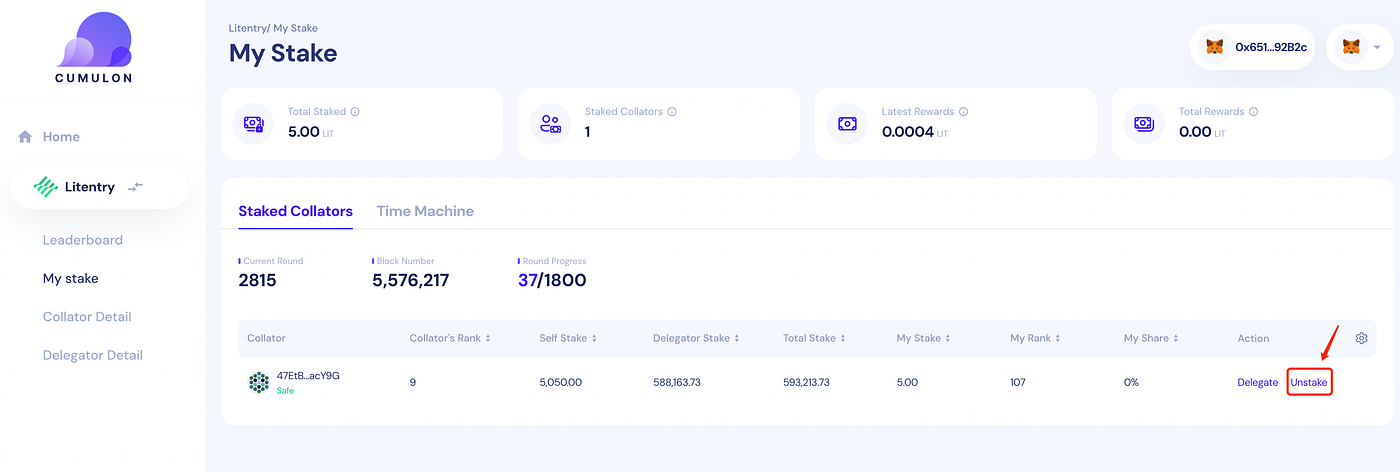
**Step 4:** Click on “My Stake.”
**Step 5:** Select “Unstake.”
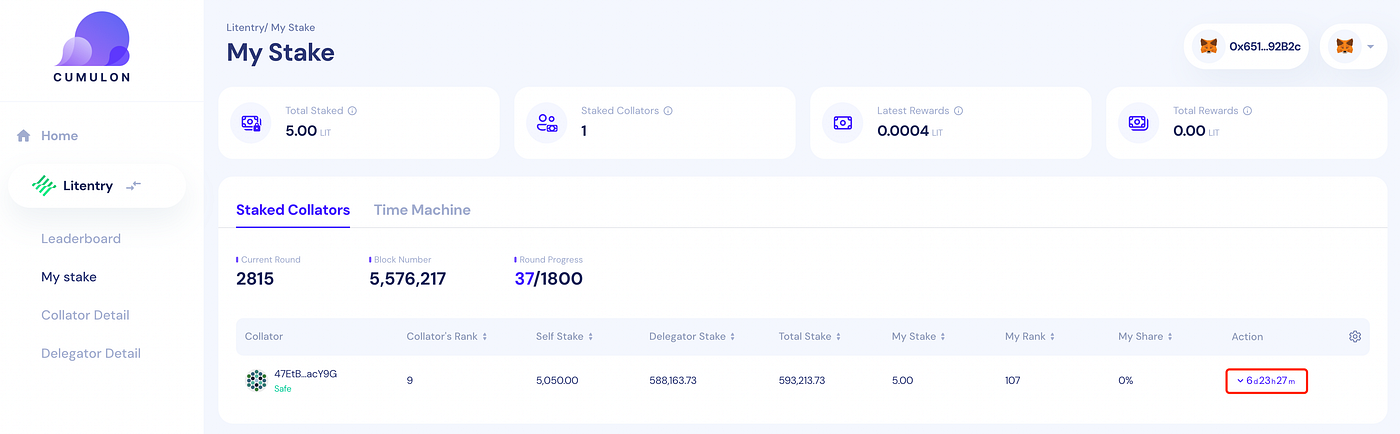
**Step 6:** After initiating the unstake process, there will be a 7-day cooldown period.
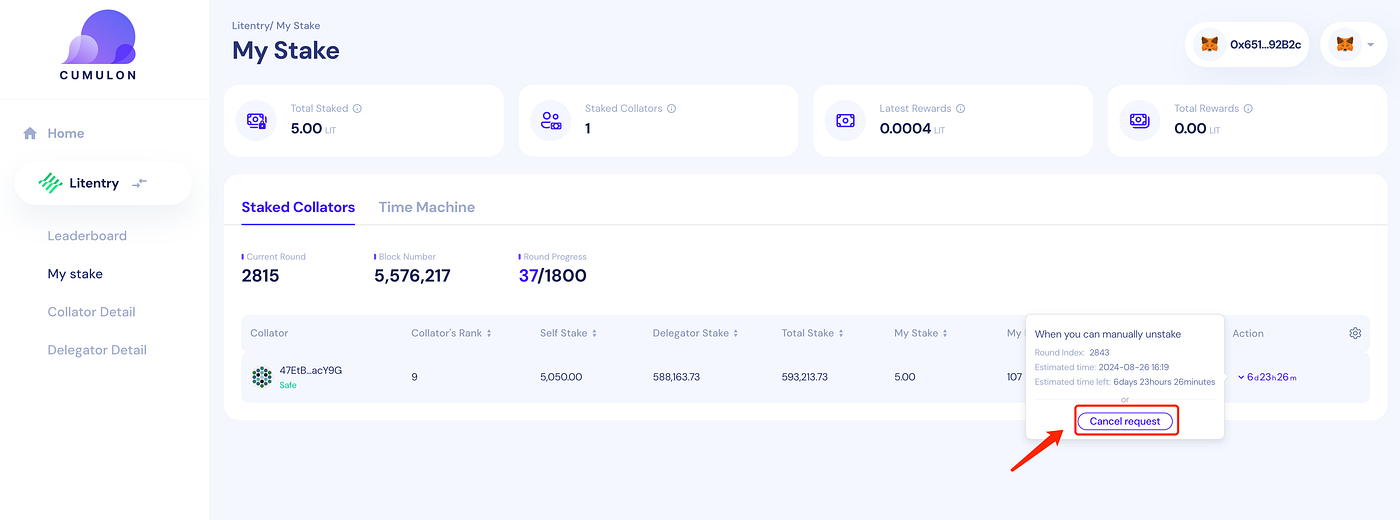
**Step 7:** During the cooldown period, you can cancel the unstake action if needed.
**Step 8:** After the cooldown period, click “Execute” to confirm the unstake (screenshot not available).
This guide covers the essential steps for staking, bridging, claiming rewards, and unstaking on Heima. Below are the concluding actions to ensure that the entire process is successfully completed.
## Finalizing the Unstaking Process
After the 7-day cooldown period, you will need to finalize the unstaking process:
1. **Execute the Unstake**: Once the cooldown period ends, click on the “Execute” button to confirm and complete the unstake. This action finalizes the process, and your staked LIT will be available in your wallet.
2. Although a screenshot is not available for this step, the process is straightforward and should be completed once the cooldown period concludes.
## Key Reminders
* **Minimum Staking Requirements**: Keep in mind the minimum staking amounts for both staking and bridging processes (5 LIT for staking, 16 LIT for bridging).
* **Node Selection**: When choosing a node, remember that the displayed APR is based on the original staking pool, and selecting a different node will not impact the bonus APR from score rewards.
* **Cooldown Period for Unstaking**: The 7-day cooldown period is mandatory and cannot be skipped. However, if you change your mind, you can cancel the unstake during this period.
* **Claiming Rewards**: Always ensure you manually claim your bonus rewards, as they will not be automatically transferred to your wallet like the standard staking rewards.
By following these steps carefully, you can effectively manage your staking and bridging activities on Heima, maximize your rewards, and ensure the smooth operation of your assets.